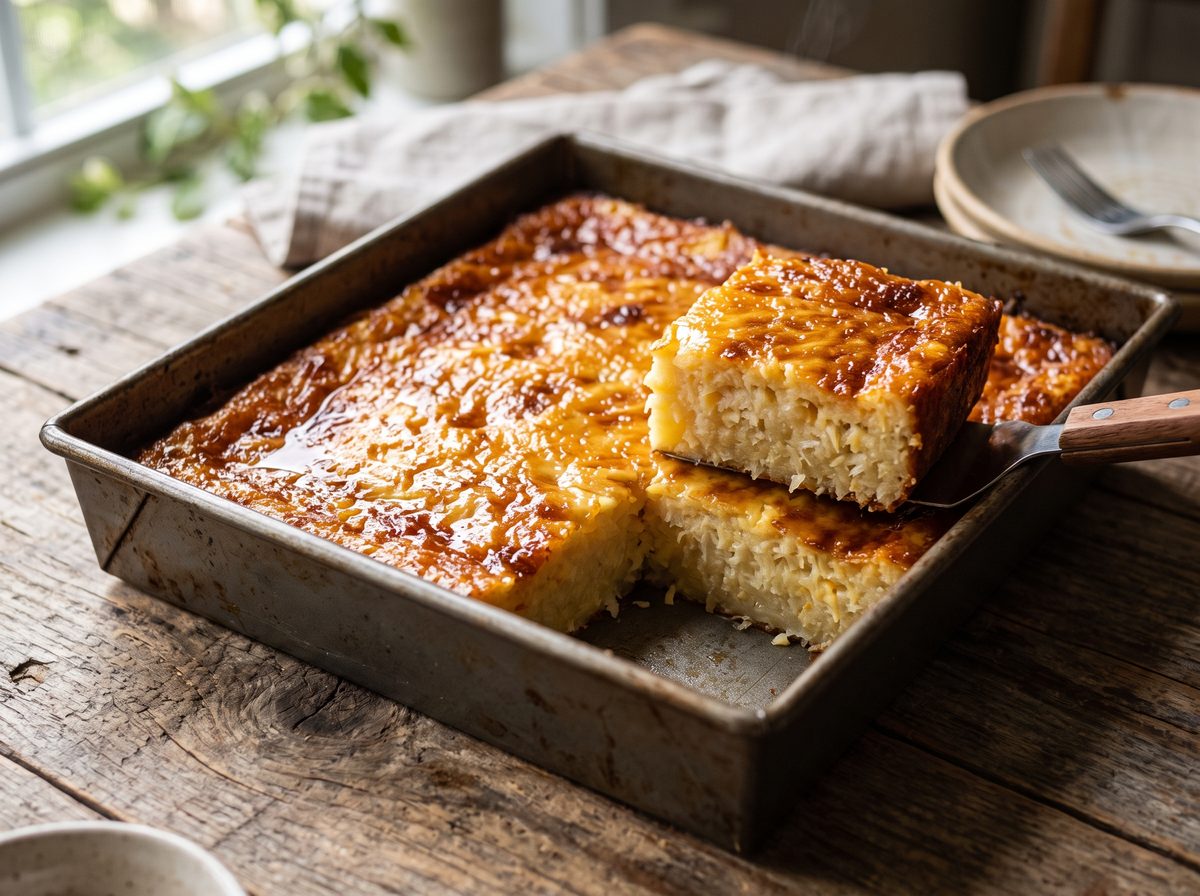
Cassava cake is a Filipino baked dessert made from grated cassava, coconut milk and condensed milk, finished with a custard topping that sets under the broiler. It is dense, chewy and faintly savoury from the cheese — closer to a mochi than to a sponge — and it is the cake that appears at every Filipino Christmas table, fiesta and afternoon merienda. This cassava cake recipe is the version I make, plus the two things that decide whether it works: which cassava you buy, and how much water you get out of it.
Last updated

Recipe
Cassava Cake
A sweet, moist Filipino cake of grated cassava under a browned coconut custard topping.
Ingredients
For the cake
For the custard topping
To finish
Method
Cake batter
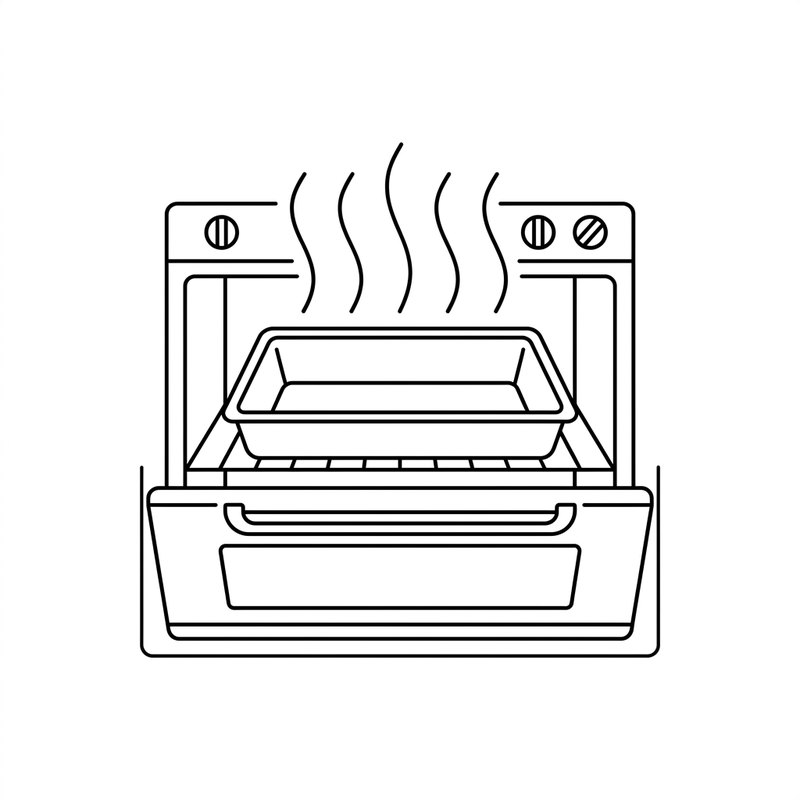
- Preheat the oven to 350°F (175°C) and let it come up to temperature for 10 minutes. Grease a baking pan and set it aside.
- If you are using frozen cassava, make sure it is fully thawed and squeezed dry before you start — see above.
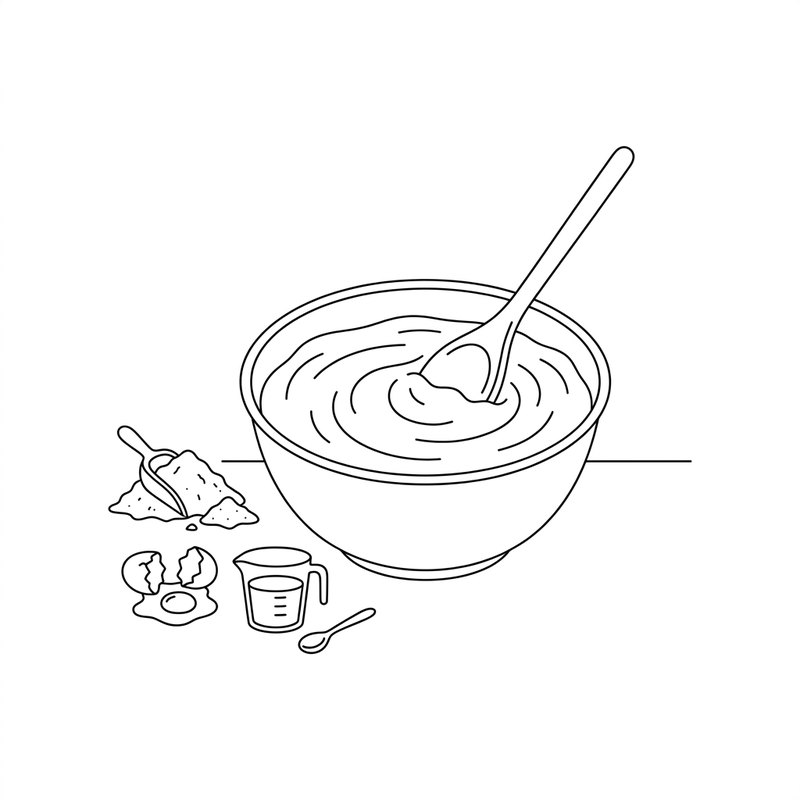
- Put the grated cassava, melted butter, ½ cup condensed milk, evaporated milk, 6 tbsp cheddar, sugar and 2 eggs into a large bowl and mix until evenly combined.
- Pour in the coconut milk and stir it through until the mixture is a loose, pourable batter.
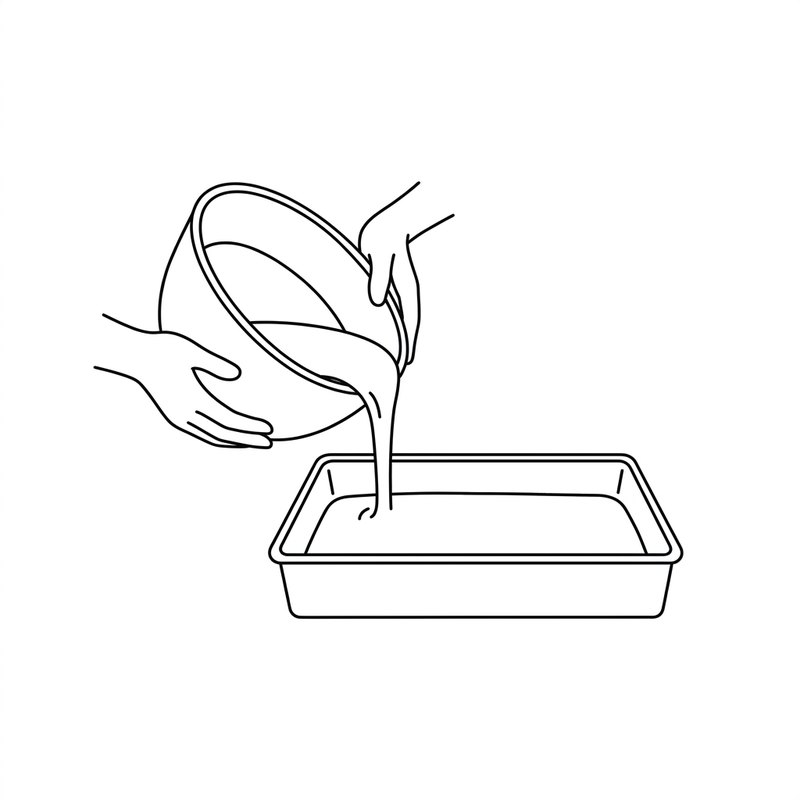
- Pour the batter into the greased pan and level the surface.
- Bake for 1 hour. Test the centre with a toothpick — it should come out clean. Remove and set aside to cool; the topping goes on cold.
Custard topping
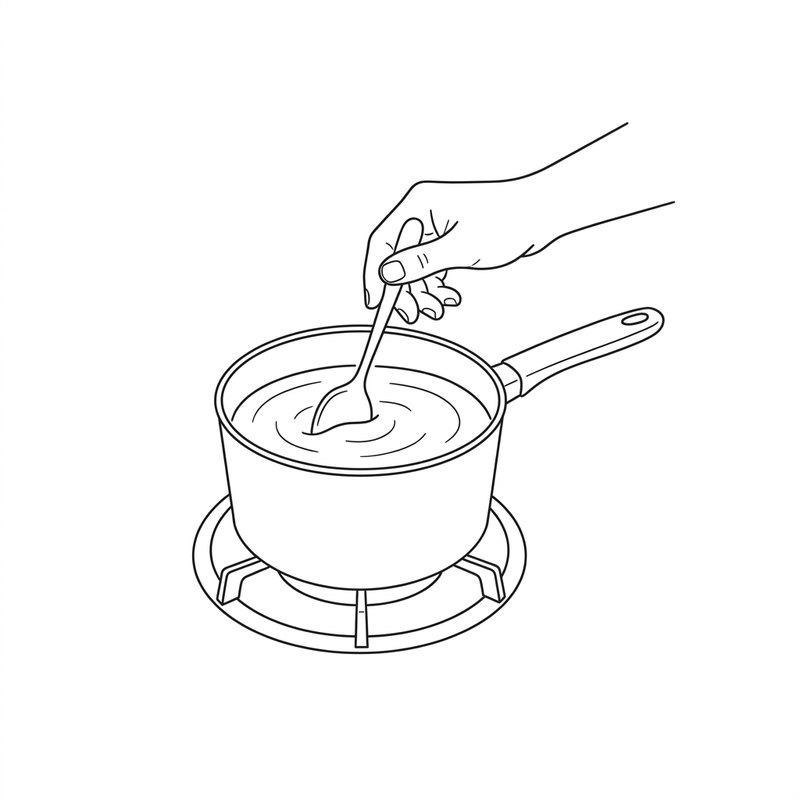
- Heat a saucepan over medium and add the 2 tbsp sugar and the flour. Stir until combined.
- Pour in the ½ cup condensed milk and mix thoroughly, working out any lumps.
- Add the 2 tbsp cheddar, stirring constantly as it melts.
- Pour in the coconut milk and keep stirring, without stopping, for about 10 minutes until the mixture thickens enough to coat the back of a spoon.
Assemble and finish
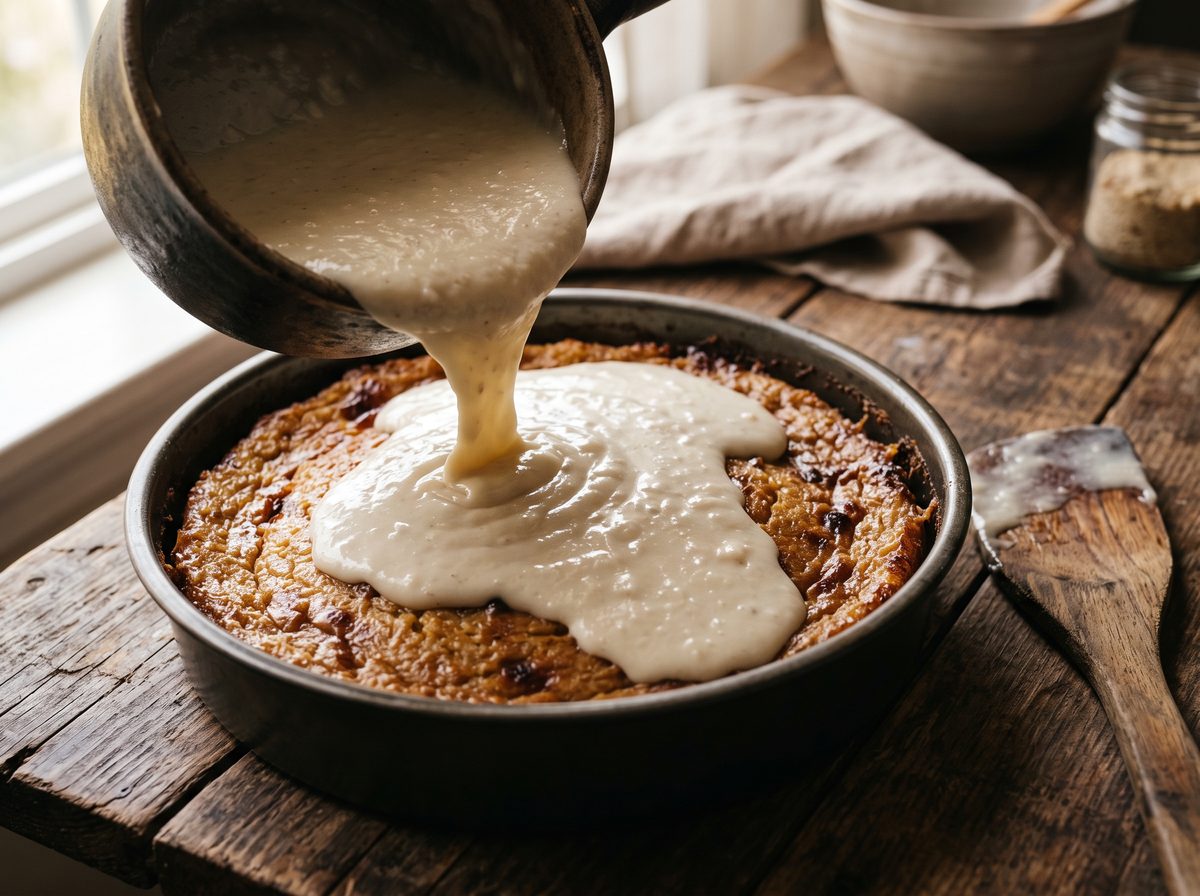
- Pour the topping over the cooled cassava cake and spread it evenly to the edges.
- Separate the remaining egg and keep the white.
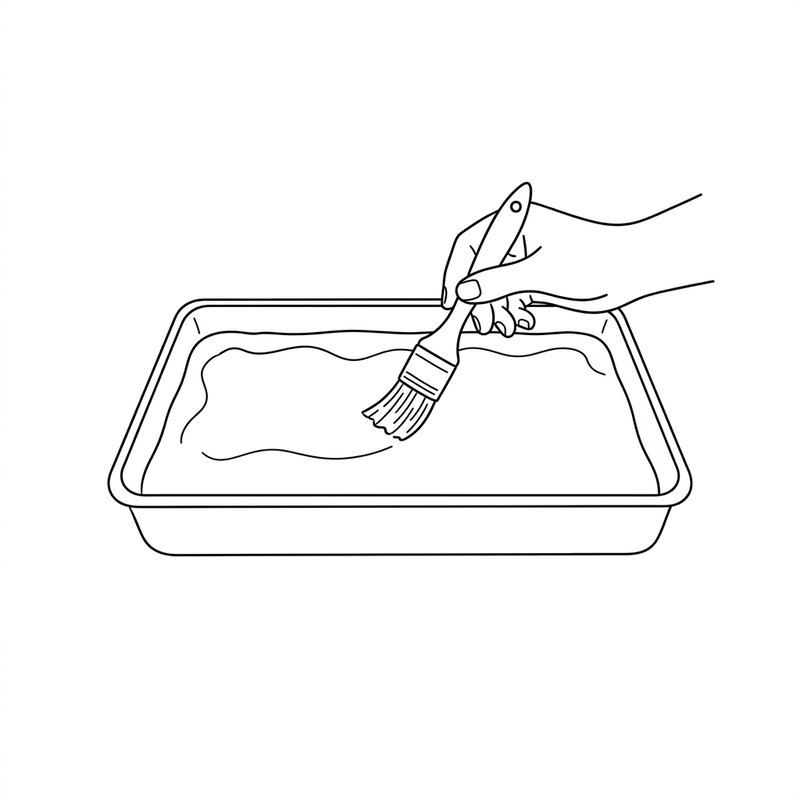
- Brush the topping with the egg white using a basting brush — this is what gives the finished cake its glaze.
- Set the oven to broil and broil until the top turns light brown. Watch it the whole time; this takes under two minutes and burns quickly.
- Cool completely before slicing. Scatter over extra grated cheddar to serve, if you like.
Note: the cake must be fully cool before the topping goes on, and fully cool again before slicing. Cutting a warm cassava cake is the fastest way to make a well-made one look like a failure.
Step by step, in pictures
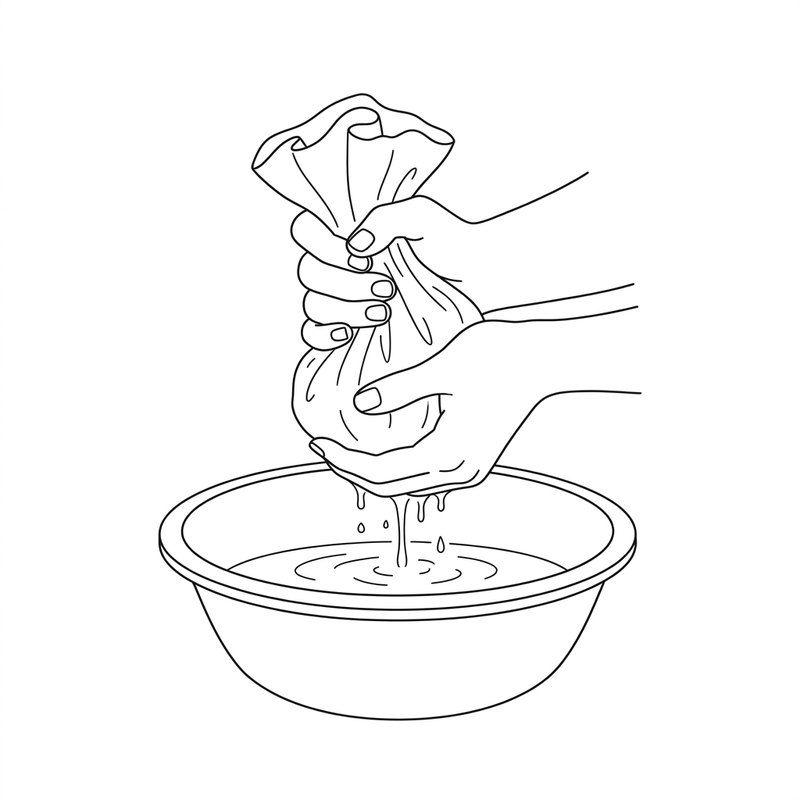
The whole cake comes down to six moves. The first one — getting the water out of the cassava — is the one that decides whether it sets, and it is the step most recipes skip past.
 Squeeze the thawed cassava dry
- Mix the batter
- Pour into the pan
- Bake for one hour
- Cook the custard topping
- Glaze, then broil
What is cassava cake?
Cassava cake is a baked Filipino dessert built on grated cassava root rather than flour. The grated cassava is mixed with coconut milk, condensed milk, eggs and sugar, baked until set, then covered with a thick custard topping and briefly broiled so the top browns. There is no flour in the cake itself — the cassava does all the structural work, which is why the texture is so unlike a Western cake.
That texture is the thing people either love immediately or need a bite to understand. It is dense and chewy, with a slight stickiness, and the closest familiar comparison is Hawaiian butter mochi — if you have made our ube butter mochi, you already know the mouthfeel. It is not fluffy, and it is not supposed to be. A cassava cake that came out light and airy has gone wrong somewhere.
The other surprise for anyone new to it is the cheese. Grated cheddar goes into the batter and onto the topping, and it reads as strange on paper. In practice it does the same job salt does in a caramel: it stops an intensely sweet, milky dessert from becoming cloying. Filipino desserts use cheese this way often, and it is worth trusting the first time rather than leaving it out.
Cassava cake is classed as a type of bibingka — the broad Filipino family of baked rice-and-coconut cakes — though it has drifted far enough from the original that most people treat it as its own thing. There is a full comparison further down.
What is cassava?
Cassava is a starchy tuber, grown across the tropics, and one of the most widely eaten root crops in the world. You may know it as yuca, manioc or tapioca root — tapioca pearls are made from its starch. The tuber is long and tapered with rough brown skin and dense white flesh, and it is a staple carbohydrate for hundreds of millions of people.
Cassava is not native to the Philippines. It was carried across the Pacific from Latin America on the Manila galleons, in circulation from at least the sixteenth century, and Filipino cooks adapted their existing rice-cake methods to the new ingredient. Cassava cake is the result of that substitution: an old technique applied to an imported root.
The same substitution happened independently almost everywhere cassava landed, which is why versions of this cake exist across three continents. Vietnam has bánh khoai mì, baked or steamed. The Caribbean and West Africa have cassava pone. Brazil has bolo de mandioca. Jamaica and Belize make bammy, a flatbread rather than a cake. If cassava cake tastes like something you half-recognise from somewhere else entirely, that is probably why.
Is cassava safe to eat, and how must it be prepared?
Cassava is safe to eat when it has been peeled and fully cooked, and it must not be eaten raw. This is the one genuinely important thing to know about the ingredient, and most recipes skip it entirely.
Why the cooking time matters
Raw cassava contains cyanogenic glycosides — compounds that release hydrogen cyanide if the root is not properly prepared. Peeling and thorough cooking is what removes them. Food Standards Australia New Zealand requires cassava sold there to carry a label stating it must be fully cooked and peeled before eating.
Sweet cassava varieties — the ones sold for eating — are adequately handled by peeling and full cooking: boiling, baking or roasting. Bitter varieties contain far more and need heavier processing such as fermentation before they are safe; these are not what you will find in a supermarket freezer aisle.
None of this makes cassava cake risky. The cake bakes for a full hour, and frozen grated cassava has already been peeled and processed by the manufacturer. The practical takeaway is simply that the hour in the oven is not a suggestion, and raw batter is not for tasting.
Sources: FSANZ, Cassava and bamboo shoots · EFSA Journal (2019), cyanogenic glycosides in foodsFor context on the levels involved: FSANZ set a limit of 10 ppm total cyanide for ready-to-eat cassava products in 2009, and the WHO Codex committee concluded that up to 10 mg/kg hydrogen cyanide in cassava flour is not associated with acute toxicity. Commercial frozen grated cassava is produced to sit well inside these limits.
Is cassava cake healthy?
Cassava cake is a dessert, and it should be treated as one — but almost all of the sugar and saturated fat comes from the milk and butter, not from the cassava. The root itself is a plain starchy carbohydrate; it is the condensed milk, coconut milk, butter and cheese that make the cake rich.
Raw cassava contains 160 kcal per 100 g, made up of 38.06 g carbohydrate, 1.36 g protein and 0.28 g fat, with 1.8 g fibre, 20.6 mg vitamin C and 271 mg potassium (USDA FoodData Central, Cassava, raw). In other words it behaves like a potato rather than like flour: high in starch, very low in protein and fat, and carrying a useful amount of vitamin C that mostly does not survive an hour in the oven.
What that means in practice is that the cassava is the least of your concerns. A single can of sweetened condensed milk contributes more sugar than the entire two pounds of root, and the coconut milk is where the saturated fat comes from. If you want a lighter cake, cut the sugar in the batter by a couple of tablespoons before you touch anything else — the custard topping is sweet enough to carry it.
One correction worth making: this cake is not gluten-free as written. The cake base contains no flour, which is why it is often described that way, but the custard topping here uses 2 tbsp of flour. Swap that for cornstarch and the whole thing genuinely is gluten-free.
Fresh or frozen grated cassava — which should you use?
Use frozen grated cassava unless you have a specific reason not to. It is already peeled and grated, it is consistent from pack to pack, and it is what most Filipino kitchens outside the Philippines actually use. Fresh root gives a marginally better flavour and a firmer set, but it costs you around half an hour of preparation and carries more risk of a disappointing batch.
Frozen grated cassava
Sold in roughly 1 lb bags in the freezer aisle of most Asian grocers, often labelled cassava, yuca or kamoteng kahoy. Already peeled, grated and processed.
✓ Recommended — thaw completely, then squeeze the liquid out
Fresh cassava root
Better flavour and a firmer set, but you peel, core and grate it yourself — around 30 minutes for the two pounds this recipe needs.
△ Only worth it if the roots are young, firm and unblemished
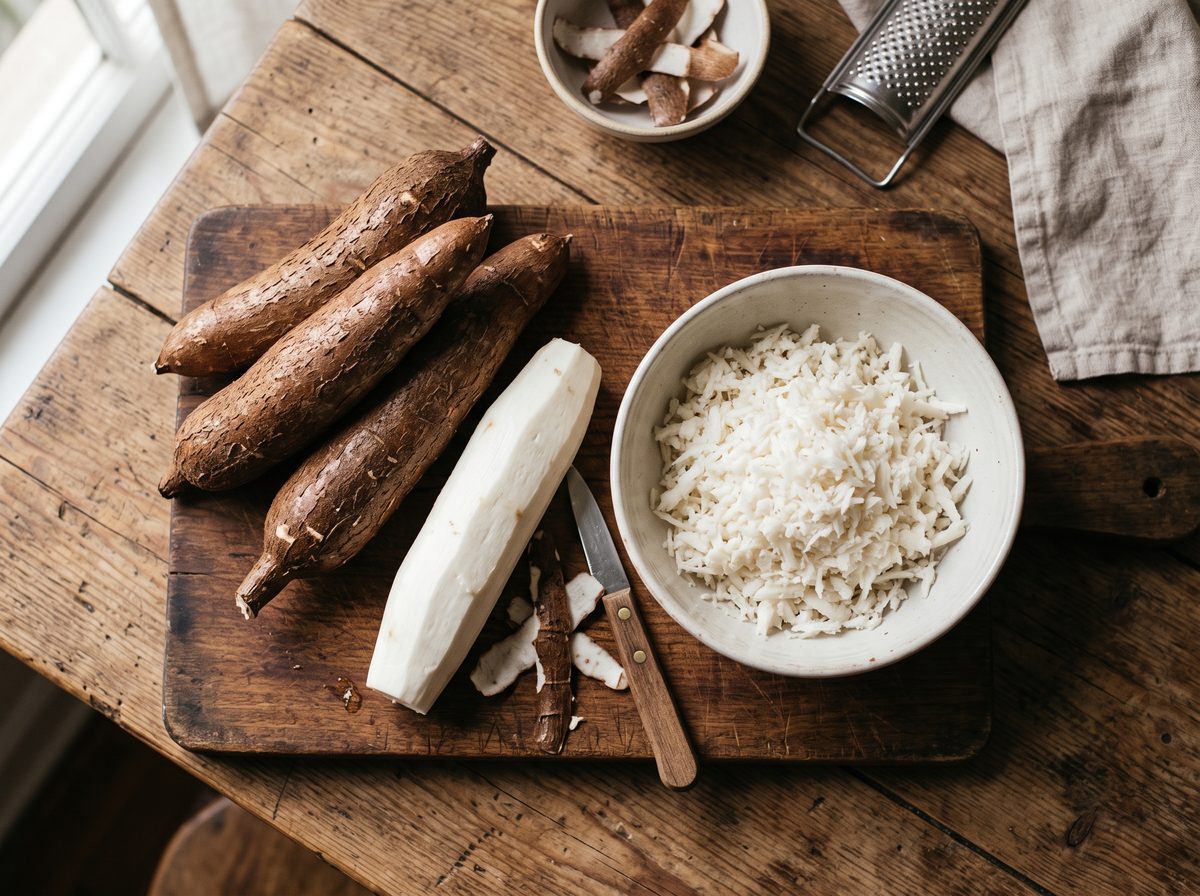
How to prepare fresh cassava
Cut the root into manageable lengths, then slice through the skin lengthwise and peel it away — cassava skin comes off in a thick layer, unlike a potato, and a knife works better than a peeler. Underneath there is a fibrous core running the length of the root; pull or cut it out and discard it, because it will not soften in baking. Grate the remaining white flesh on the fine side of a box grater, or pulse it in a food processor.
Two things to watch. First, reject any root with grey or blue streaking in the flesh, or a sour smell — that is spoilage, and cassava spoils quickly after harvest. Second, grated cassava browns fast once exposed to air, so work steadily and get it into the batter rather than leaving it sitting.
Using frozen grated cassava
Thaw it fully, then get the water out — this single step decides whether your cake sets. Frozen grated cassava releases a startling amount of liquid as it thaws, and that liquid is the most common cause of a cassava cake that never firms up in the middle.
Thaw the bags overnight in the fridge, or for a couple of hours at room temperature. Tip the cassava into a sieve set over a bowl and press it firmly with the back of a spoon, or gather it in a clean kitchen towel and wring it out. You want it damp, not wet. Do not throw the drained liquid away out of habit if you are curious — it is cassava starch water, and it settles into starch you can keep — but it must not go into the batter.
What is the difference between cassava cake and bibingka?
Both are Filipino desserts baked for the same occasions, which is why they are constantly confused. The difference is in the base, not the method.
The difference is the base: cassava cake is built on grated cassava root, while bibingka is built on galapong, a ground glutinous rice batter. Everything else — the texture, the cooking vessel, the occasion — follows from that one substitution.
| Cassava cake | Bibingka | |
|---|---|---|
| Base | Grated cassava root | Galapong — ground glutinous rice |
| Texture | Dense, chewy, slightly sticky | Lighter, spongier, more open crumb |
| Cooked in | A baking pan, in the oven | Traditionally a clay pot lined with banana leaf, with coals above and below |
| Topping | Custard of coconut and condensed milk, browned under the broiler | Salted duck egg, cheese and grated coconut |
| Typically eaten | Merienda, fiestas, Christmas | Christmas season — traditionally after Simbang Gabi, the dawn Masses |
In everyday Filipino usage the two are separate desserts, even though cassava cake sits inside the wider bibingka family. If someone says they are bringing bibingka, expect the rice one.
Ingredient notes and substitutions
Only two ingredients in this cassava cake recipe are non-negotiable: the cassava and the coconut milk. Everything else is standard in a Filipino dessert pantry and has some room in it, though the swaps change the result in ways worth knowing before you make them.
A shopping note for US cans. The quantities above are in cups, which do not map cleanly onto the tins on the shelf. In total this recipe uses 1 cup of sweetened condensed milk — roughly three-quarters of a standard 14 oz can — and 4 cups of coconut milk, which is about two and a half 13.5 oz cans. Buy one can of condensed milk and three of coconut milk and you will have a little of each left over.
Coconut milk should be full-fat and canned, not the thin carton drink sold for cereal — the fat is doing structural work in both the cake and the topping, and a low-fat version will not thicken. Coconut cream works and gives a richer topping; thin it slightly with water if it seems heavy.
Condensed and evaporated milk are not interchangeable. Condensed milk is sweetened and thick; evaporated is unsweetened and pourable. Swapping one for the other changes both the sweetness and the set. If you only have condensed milk, use it in place of the evaporated and cut the sugar by about a third to compensate.
Cheddar is the standard choice in Filipino kitchens, and a mild processed cheddar melts more smoothly than a sharp aged one. Any firm mild cheese will do the same job. As covered above, leaving it out entirely means adding salt instead.
Sugar at 14 tablespoons makes a properly sweet cake in the traditional style. If you are used to less sweet desserts, taking it down to 10 tablespoons still sets correctly.
Why is my cassava cake watery, dense or not setting?
Four things go wrong with this cassava cake recipe, and all of them trace back to water, temperature or timing. Each one below names the symptom first, then the fix.
Nine times out of ten it is water in the cassava. These are the failure modes worth knowing before they happen, in rough order of how often they occur.
It never set in the middle
Excess liquid in the cassava. Thawed frozen cassava holds far more water than it looks like it does. Press it in a sieve or wring it in a towel until it is damp rather than wet. This is the single most common cause, and no amount of extra baking fully compensates.
The topping stayed runny
The custard was not cooked long enough. It needs the full 10 minutes of constant stirring to thicken. If it still runs off the spoon, keep going — it will not thicken further in the oven, because the broil is too brief.
The top browned but the centre is raw
Broiled too early or too long. The broiler is only for colouring the glaze, after the full hour of baking. If the cake went under before it was baked through, the outside sets while the inside stays wet.
It fell apart when I sliced it
Cut too warm. Cassava cake firms up considerably as it cools, and it needs to reach room temperature at minimum. Chilling it before slicing gives the cleanest edges.
It tastes flat or sickly sweet
The cheese was left out. The cheddar is providing salt and a savoury edge against a lot of condensed milk. If you skip it, add a good pinch of salt to the batter to compensate.
Can you steam cassava cake instead of baking it?
Yes — steam the cake for about 45 minutes, then add the topping and steam it for a further 20 minutes or brown it under a broiler. Steaming is the standard method in Filipino kitchens without a reliable oven, and it produces a recognisably different cake rather than a compromise.
The steamed version is moister, softer and paler. It sets a little less firmly than the baked one, and it will not brown at all on its own, so the broiler step is the only way to get the dark blistered top that most people associate with cassava cake. If you have no broiler either, accept the pale top — the flavour is unaffected.
Two things matter more when steaming than when baking. First, cover the pan with foil, or stretch a cloth under the steamer lid, so condensation cannot drip back into the batter — this is the same water problem the rest of this page keeps returning to, arriving from a different direction. Second, keep the water at a steady simmer rather than a hard boil; a violent boil rocks the pan and the topping sets unevenly. Test with a toothpick at 45 minutes: it should come out clean.
How to store and freeze cassava cake
Cassava cake keeps for up to five days covered in the fridge, and freezes well for up to three months. It is one of the better Filipino desserts for making ahead, because the texture actually improves after a night in the cold — it firms up and slices more cleanly than it does on the day.
Store it covered, in the pan or in an airtight container. It does not need to be served warm; most Filipino households eat it straight from the fridge. If you prefer it warm, 10 to 15 seconds in the microwave per slice is plenty — longer and the custard topping starts to weep.
To freeze, cool completely, slice into portions, and wrap each piece before freezing so you can take out one at a time. Thaw overnight in the fridge. The topping can look slightly grainy straight from frozen; it settles as it comes back to fridge temperature.
Variations on this Filipino dessert worth trying
The cassava cake recipe above is the standard cheese-topped version. Three variations are common enough to be worth knowing:
Macapuno. Stir a jar of macapuno — sweetened coconut sport strings — through the batter before baking. It is the most popular variation in the Philippines and makes the cake noticeably richer and sweeter, so consider cutting the sugar slightly.
Banana leaf. Line the pan with banana leaf before pouring in the batter. It adds a faint grassy aroma and makes the cake easier to lift out whole, and it is how the cake is most often presented at a fiesta.
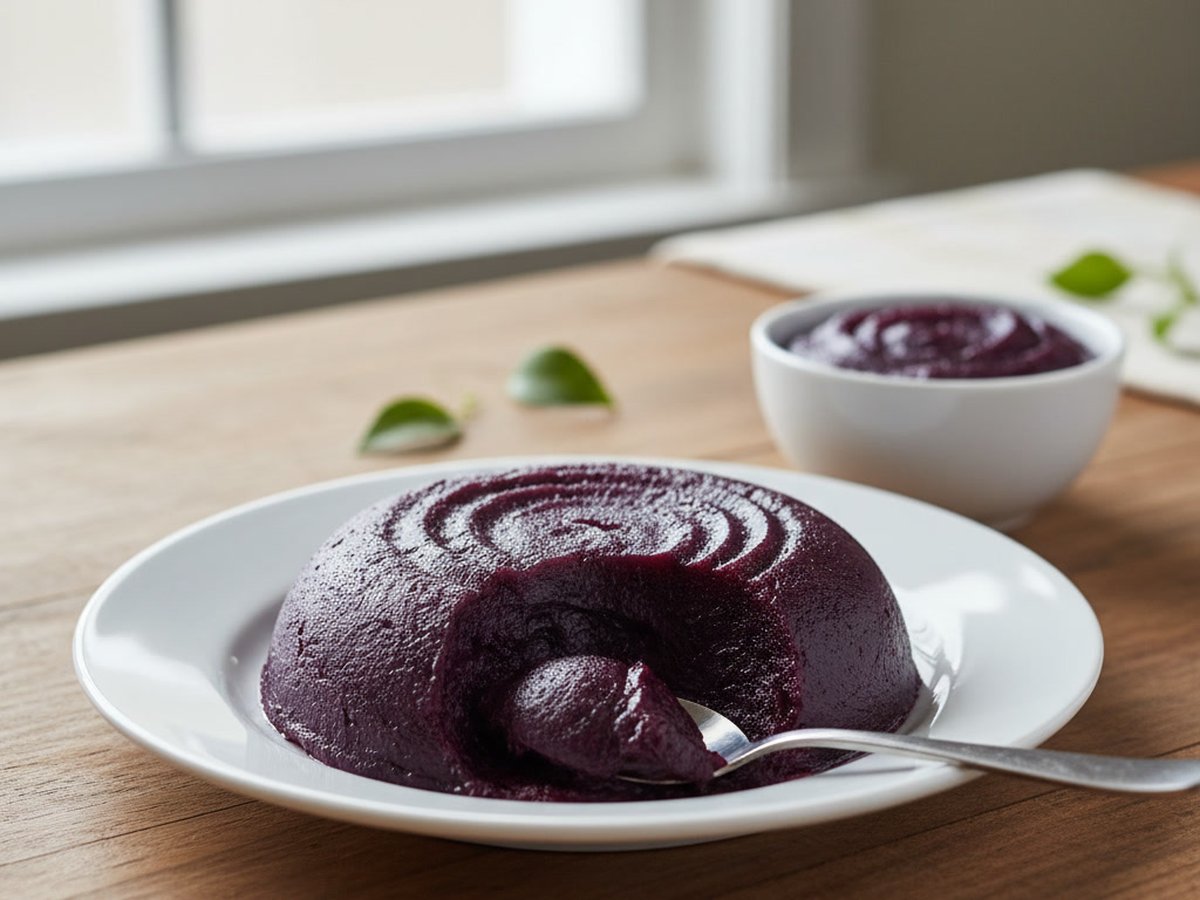
Ube. Add ube halaya or ube extract to the batter for a purple cassava cake. If you want to go further in that direction, our ube leche flan and ube cheese pandesal use the same flavour in different formats.
If you like this style of dessert, the closest things on the site are cassava flan, which merges this cake with leche flan, pichi pichi, a steamed cassava dessert rolled in coconut, and leche flan cake.
Making it without macapuno
The recipe on this page already contains no macapuno, so nothing needs substituting. This is worth stating plainly because a large share of cassava cake recipes online include it, and searchers reasonably assume it is a required ingredient.
Macapuno is a coconut mutation sold in jars as sweetened strings. It is a genuine and popular addition, but it is optional in every sense: leave it out and you get the standard cheese-topped cake, which is what most Filipino households actually make on a normal week.
The three-ingredient version
The minimal cassava cake is grated cassava, coconut milk and sweetened condensed milk, baked at 350 °F for 45 to 60 minutes. No eggs, no cheese, no butter and no separate custard topping — you stir the three together, pour, and bake until the top is golden.
It works, and it is a reasonable first attempt if you are unsure whether you like the texture. What you give up is the set and the top: without eggs the crumb stays softer and wetter, and without the custard layer there is no contrast between the chewy base and the browned lid. The cheese is also doing more than it appears to — its salt is what stops the condensed milk from tasting flat, which is the most common complaint about the three-ingredient version.
Frequently asked questions
Can I use frozen grated cassava instead of fresh?
Yes, and it is what most people use. Frozen grated cassava is already peeled and processed. Thaw it completely and squeeze out the excess liquid before mixing, or the cake will not set in the middle.
Why is my cassava cake watery?
Almost always excess water from the cassava. Thawed frozen cassava releases a lot of liquid; drain and press it until damp rather than wet before it goes into the batter.
Can I make cassava cake without cheese?
Yes. The cheddar is there for salt and savoury contrast, not structure, so the cake still sets without it. Add a pinch of salt to the batter to make up for it.
Is cassava safe to eat?
Yes, when peeled and fully cooked. Raw cassava contains cyanogenic glycosides which are removed by peeling and thorough cooking. Commercial frozen grated cassava is already peeled and processed, and this cake bakes for a full hour.
How long does cassava cake keep?
Up to five days covered in the fridge, or three months in the freezer. The texture firms up overnight, so making it a day ahead is an advantage rather than a compromise.
What is the difference between cassava cake and bibingka?
Cassava cake is made from grated cassava root; bibingka is made from galapong, a ground glutinous rice batter. Cassava cake is denser and chewier, and is baked in a pan rather than a banana-leaf-lined clay pot.