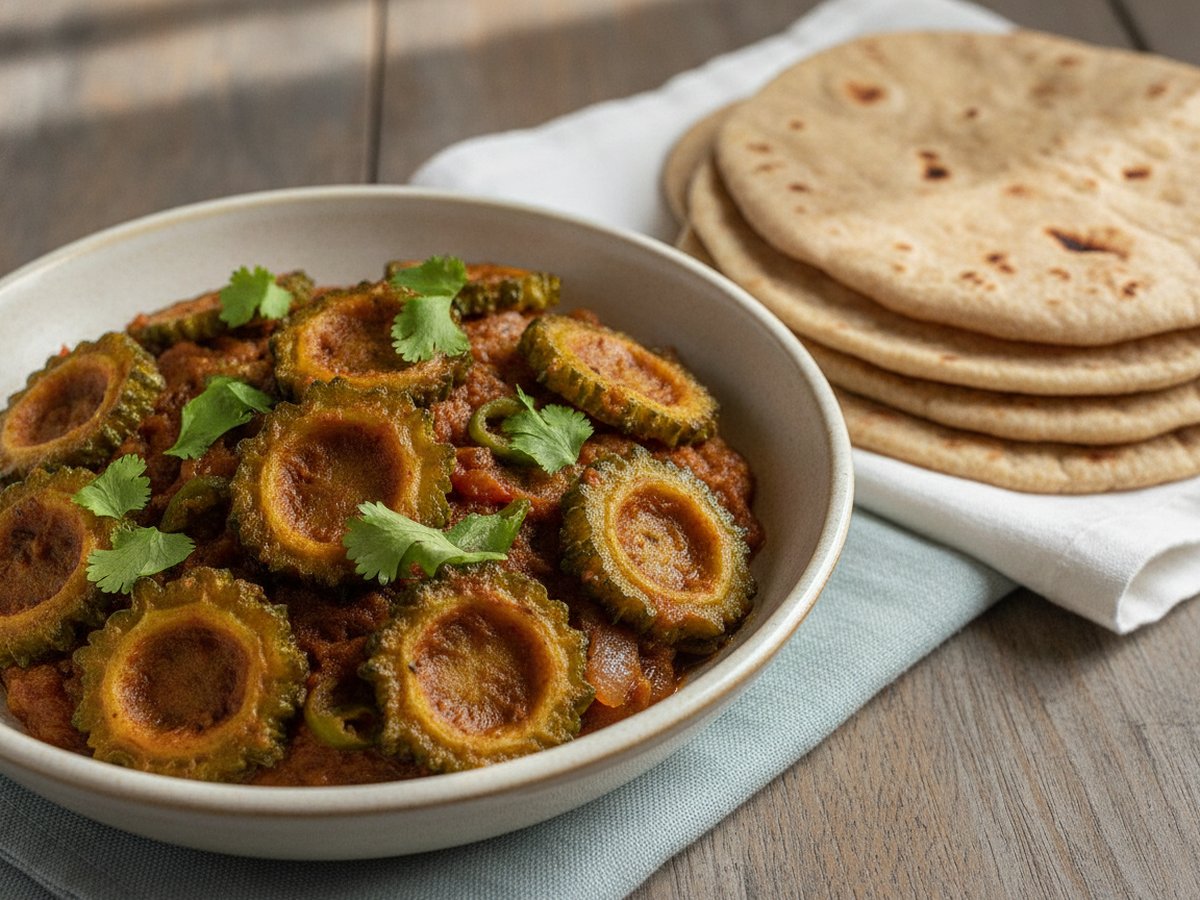
Karela is bitter gourd, and a good karela recipe is really a method for keeping that bitterness in proportion. Slice the gourd thin, salt it, squeeze the juice out, fry it on its own until the edges brown, then fold it into an onion and tomato masala sharpened with dried mango powder. The result is a dry, savoury curry that is still plainly bitter, in the way strong coffee is bitter, and meant to be eaten with roti.
One step decides whether it works: the first fry. Karela that goes into the masala pale and wet stays harsh and turns limp. Karela that has been browned first holds its shape and tastes rounder.
Last updated
Recipe
Karela Recipe (Bitter Gourd Curry)
Ingredients
Method
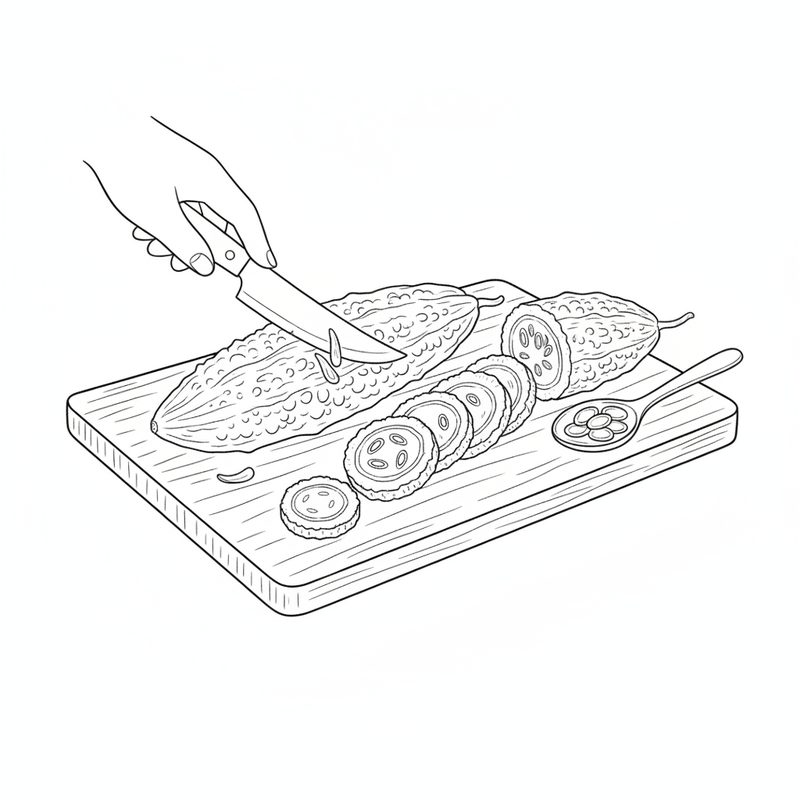
- Rinse the karela, trim both ends and scrape the ridged skin lightly with a paring knife or peeler. Slice into thin rounds, about 3 to 6 mm, and push out any hard or red seeds.
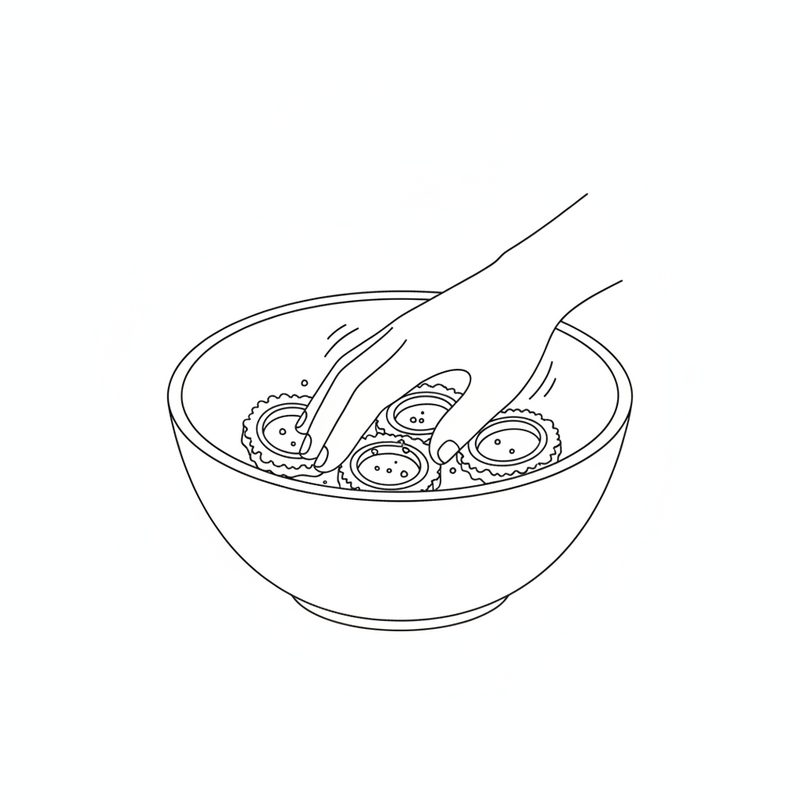
- Rub the slices with 1 tsp salt and leave them for at least 30 minutes. Longer, up to a few hours, gives a milder result.
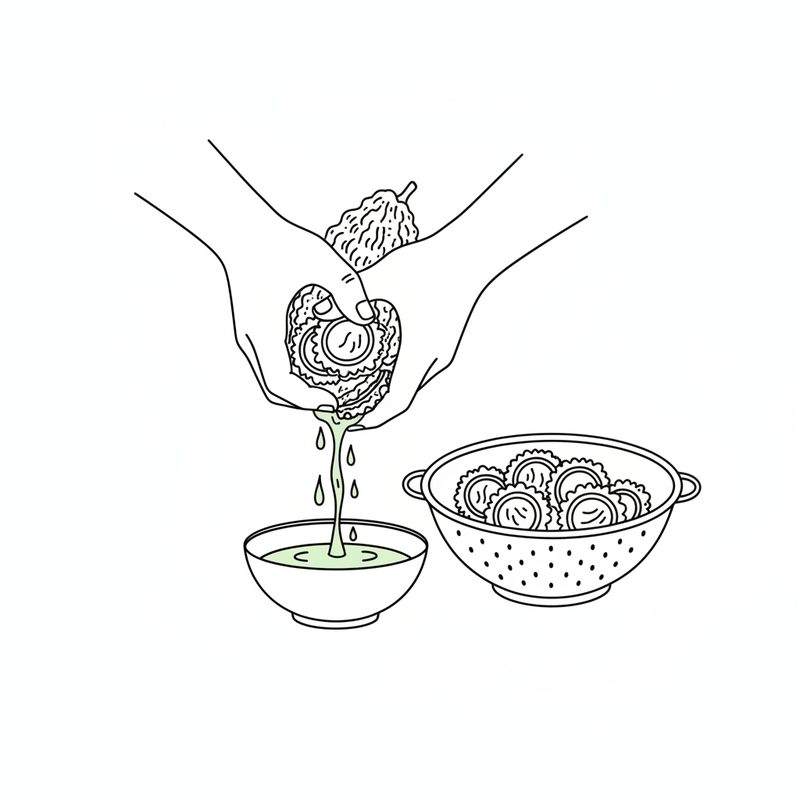
- Squeeze the slices firmly by the handful to press out the bitter juice, rinse them, then squeeze again and pat dry.
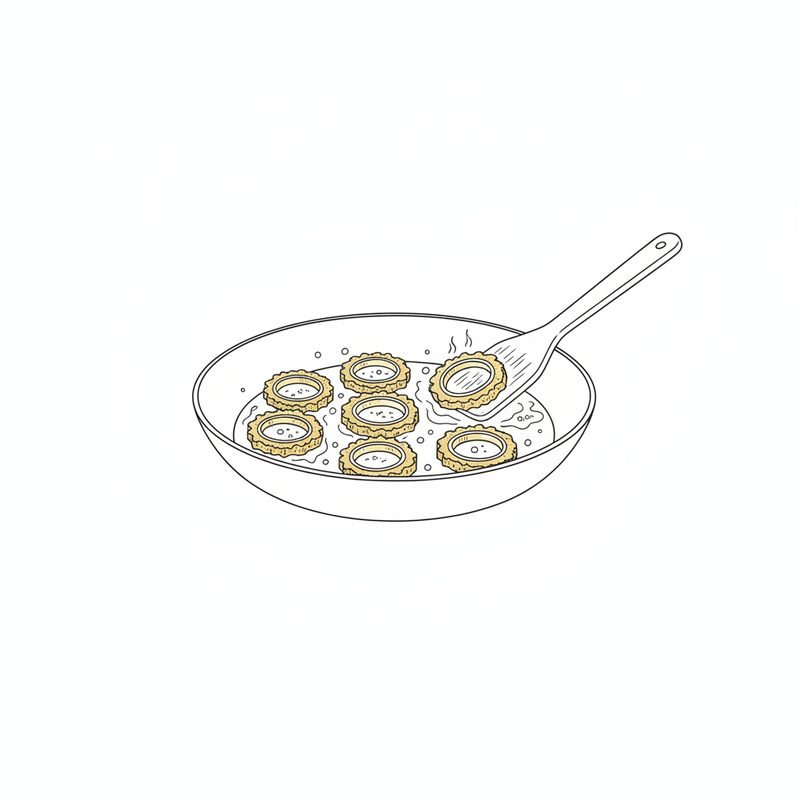
- Heat 2 tbsp oil in a wide pan over medium-high heat. Add the karela in a single layer, in two batches if needed, and fry, stirring now and then, until deep green with golden-brown edges. Lift out and set aside.
- Add a little more oil if the pan is dry. Add the cumin seeds and let them sizzle, then add the onions and cook until soft and just golden at the edges.
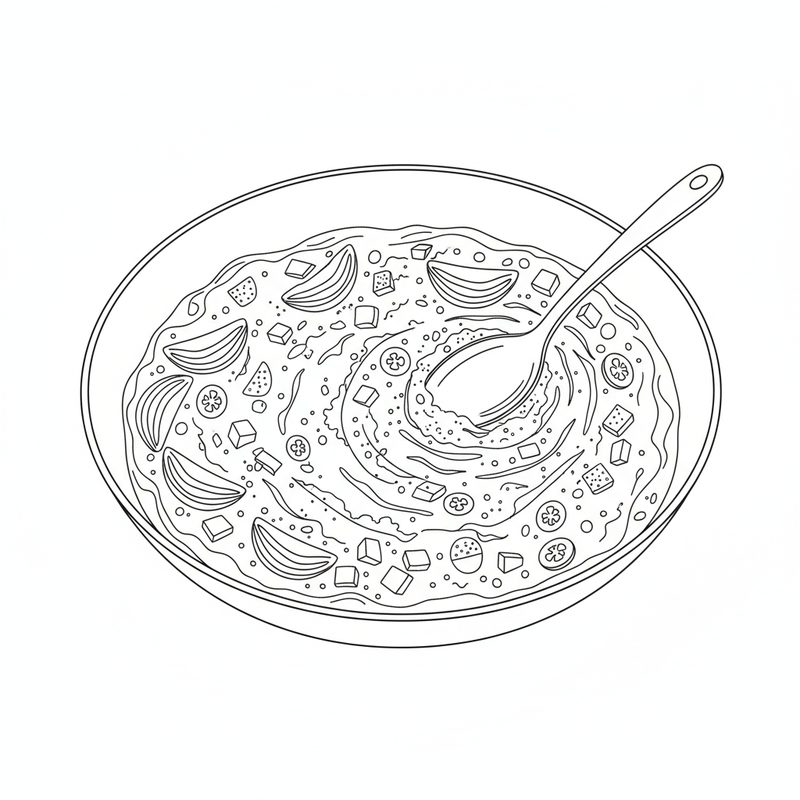
- Add the tomatoes, turmeric, chilli powder, ground coriander and salt to taste. Cook, stirring, until the tomatoes collapse and the oil separates at the edges of the masala.
- Return the karela to the pan and stir to coat. Cover, turn the heat to low and cook until the karela is as tender as you like it, stirring once or twice.
- Stir in the amchur, scatter over the coriander leaves and serve hot with roti.
Are karela and bitter gourd the same?
Yes. Karela is the name the vegetable goes by in Urdu and Hindi, and bitter gourd and bitter melon are its English names. All three refer to one plant, Momordica charantia, a climbing vine of the gourd family.
Two types turn up in shops. The Indian type is short, dark green and covered in jagged, pointed ridges. The Chinese type is longer and paler, with smoother bumps. Paler gourds tend to be milder. Either type works in this recipe, but the Indian one is what the dish is normally made with.
What karela tastes like
Bitter first, then green and slightly grassy. Frying changes it more than anything else does: the browned edges taste nutty and the bitterness moves to the background, where it sits behind the onions rather than on top of them.
The dried mango powder, amchur, is there for a reason. Sourness makes bitterness read as balance instead of as a fault, and every one of the five pan-cooked versions checked for this page uses it or lime juice in its place.
How to take the bitterness out of karela
You reduce it; you do not remove it. Three things do the work, and they add up.
- Scrape the skin. Run a paring knife or peeler lightly over the ridges. The aim is to knock off the sharpest points, not to strip the gourd bare.
- Take out the hard seeds. Slice into thin rounds and push out any seeds that have turned hard or red. Tender pale seeds in a young gourd can stay. If you prefer, halve the gourd lengthwise first and scoop out the seeds and white pith with a spoon.
- Salt, then squeeze. Rub the slices with salt and leave them. The salt pulls out a bitter green juice, which you squeeze away with your hands before rinsing.
How long to leave the salt on is where published recipes part company. Two of the versions checked here say 30 minutes, one says an hour, and one says two to three hours or overnight in the fridge. Longer gives a milder result. Thirty minutes is the working minimum; if you are cooking for someone new to karela, give it an hour or more.
Rinse before frying. Unrinsed slices carry enough salt to throw the whole masala off.
The step most people get wrong
Crowding the pan. Karela needs to fry, and it can only fry in a wide pan with the slices close to a single layer. Piled up, they steam in their own water, go grey-green and soft, and keep all the bitterness you just worked to reduce.
Use a wide pan over medium-high heat and give it time. The sources here put this stage between 8 and 14 minutes. It is right when the slices have gone from bright green to deep green with golden-brown edges, and are lightly crisp outside but still juicy. If your pan is small, fry in two batches. It costs a few minutes and it is the difference between a good karela and a disappointing one.
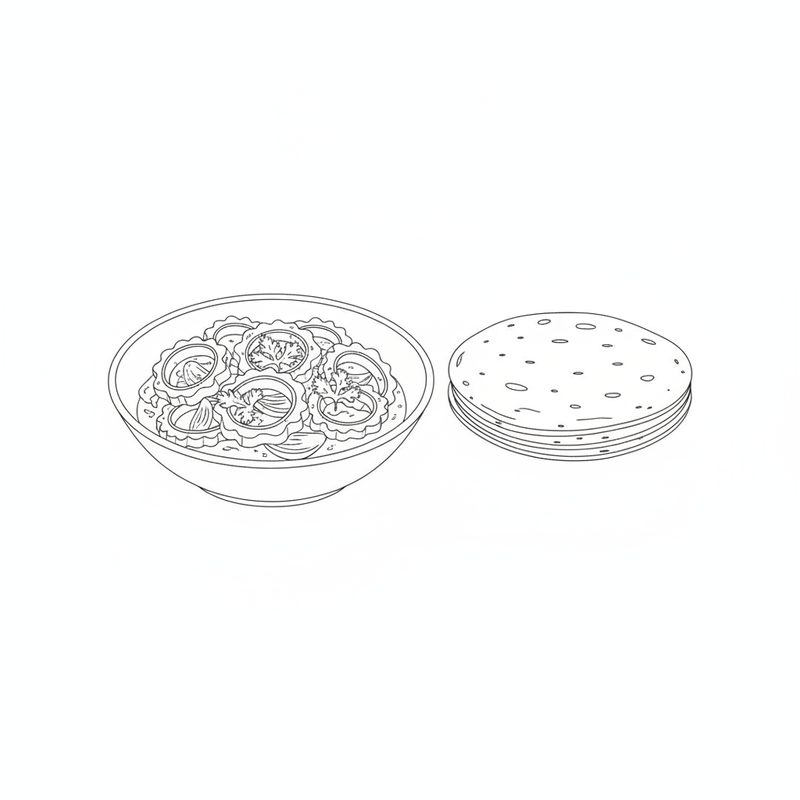
Karela, step by step
 Scrape the ridges, slice thin and push out the hard seeds.
- Rub the slices with salt and leave them to sweat.
- Squeeze out the bitter juice, then rinse and pat dry.
- Fry the karela alone until the edges brown.
- Cook the onion and tomato masala until the oil separates.
- Return the karela, cover briefly, finish with coriander.
Home style and the richer style
Home style uses 2 to 3 tablespoons of oil for 450 g of karela, which is what three of the recipes compared here use. It gives a dry curry where the karela is tender and the onions are soft.
The richer style uses about three times the oil, fries the karela until crisp at the edges, and builds a fuller masala with garlic, ginger and green chilli, sometimes finished with a spoon of yogurt and crisp fried onions. Tea for Turmeric’s version is a good example. It is more indulgent and less of an everyday dish. Neither is the correct one; decide which you want before you start, because the oil quantity changes the texture of everything that follows.
With or without tomato
Both are common. The card uses 2 tomatoes, as two of the source recipes do, because tomato gives a softer masala that clings to each slice. Three other versions leave tomato out entirely and rely on onion and amchur, which gives a drier, sharper dish. If you leave the tomato out, cut the covered cooking short, since there is less liquid in the pan.
Karela variations worth knowing
- Karela with potato. Food.com’s version adds two potatoes cut in strips and half-cooked, stirred in with the onions. The potato softens the bitterness and stretches the dish.
- Stuffed karela. The same page slits whole gourds lengthwise, fills them with the spice mixture, and cooks them slowly in a wide pan until browned.
- Sweet and sour karela. Gujarati karela nu shaak adds jaggery at the end, as Indiaphile and Piping Pot Curry both do. The result is sweet, sour and bitter at once rather than savoury.
- Baked karela. Cook with Manali tosses the slices with oil and spices and bakes them at 200°C (400°F) for 20 to 23 minutes. Less oil and less stirring, and no masala to watch.
The shorter route, and what it costs
You can skip the salting. Piping Pot Curry treats it as optional, cooking the raw slices with onions under a lid. What you lose is predictable: more bitterness, more water in the pan, and slices that soften before they brown. If you skip it, choose young, tender gourds with soft seeds. With dark, heavily ridged ones, salt them.
Why the card has no cooking time or serving count
Because the published recipes disagree too widely to give one honestly. Their prep times run from 15 to 75 minutes, depending on whether the salting is counted, and their cooking times from 10 to 45 minutes. The same 450 g of karela is said to serve 2, 4 or 8. Any single number here would be a guess, so the card leaves them out.
Stage by stage, the sources agree more closely: at least 30 minutes of salting, 8 to 14 minutes to fry the karela, 6 to 12 minutes for the onions, and anywhere from 3 to 20 minutes covered at the end, depending on how soft you want the karela.
What to serve with karela
Roti first, then dal and plain rice. Karela is a strong-flavoured vegetable dish, so it sits best beside something mild. On a fuller table it works as the vegetable next to a chicken karahi or an achari chicken. If karela is too much for some of the people you are feeding, make a mixed vegetable curry alongside it.
Storing leftover karela
Refrigerate leftovers within 2 hours of cooking and eat them within 3 to 4 days, which is the USDA’s general guidance for cooked leftovers. Karela keeps its shape well. Reheat it in a dry pan over medium heat rather than in the microwave, so the slices crisp again instead of going soft.
Karela and health
This is a cooking page, not medical advice. Most of the health interest in karela is about blood sugar: according to WebMD, the compounds that make bitter gourd bitter may play a role in lowering blood sugar in people with diabetes. That same effect is why anyone taking medication for diabetes should talk to their doctor before eating karela often or in large amounts. For questions about kidneys, pregnancy or any other condition, a doctor is the right source, not a recipe.
Questions people ask
Can I skip salting the karela?
Yes, but the dish will be more bitter and wetter in the pan. Skipping it works best with young, pale, tender gourds.
Do I have to peel karela?
No. Scrape the ridges lightly to take off the sharpest points. Peeling it completely is a matter of taste and removes more bitterness along with some of the texture.
Why is my karela still bitter?
Usually because it was salted too briefly, not squeezed hard enough, or crowded in the pan so it steamed instead of browning. Salt it longer next time and fry it in a single layer.
What are the benefits of eating karela?
The interest is mainly in blood sugar: WebMD reports that the compounds that make it bitter may help lower blood sugar in people with diabetes. It is a vegetable, not a treatment.
Who should not eat bitter gourd?
Anyone taking medication for diabetes should ask their doctor first, because karela may lower blood sugar further. For kidney conditions, pregnancy or anything else, ask a doctor rather than a recipe page.